In you’re running a business site, pricing table is a great marketing tool to help users to make a wise comparison on which package they should buy or subscribe to.
In today’s tutorial, we’ll show you how to add a responsive pricing table to your WordPress site in few steps. Generally, a pricing table can be created using some HTML markups and a bit of CSS to customize it. However, it’s a bit hacky for non-tech savvy users and therefore we’ll be using Easy Pricing Tables plugin instead.
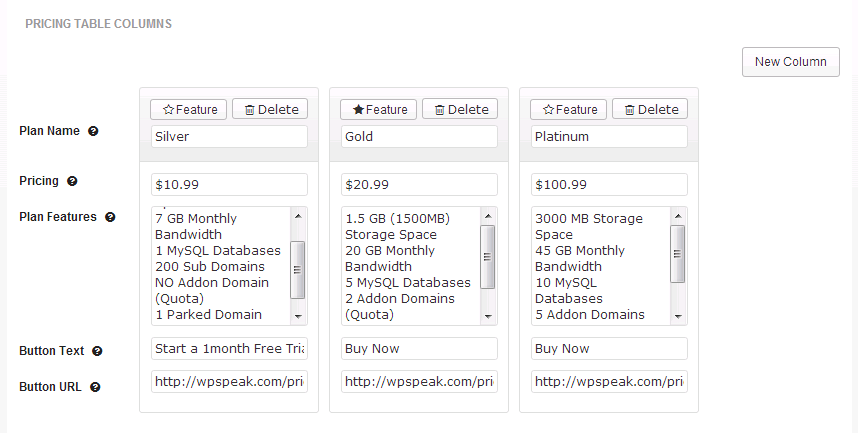
Easy Pricing Tables plugin is a free WordPress plugin and once it is activated, you’ll see a new menu to add a new pricing table on the left sidebar of your dashboard.
While some other plugins allow you to add the pricing table using a shortcode, when you’re having a table with lots of details about the products, the shortcode will become too long and very confusing. Unlike other plugins, Easy Pricing Tables plugin comes with an intuitive settings page to create a pricing table in a matter of seconds.
Some features of this plugin are:
- Intuitive settings page
- Responsive design
- Drag and drop column to make it even easier to sort the columns
- Basic settings to customize the design
- Ability to feature a most popular package (or column)
- Easy to use shortcode
The plugin allows you to create unlimited number of pricing tables and each pricing table will have its own shortcode that can be used in any post, page or even widget. However, to use the shortcode in the text widget, make sure you’ve enabled the use of shortcode in WordPress widget.
Here’s an example of the pricing table we’ve created with the plugin:
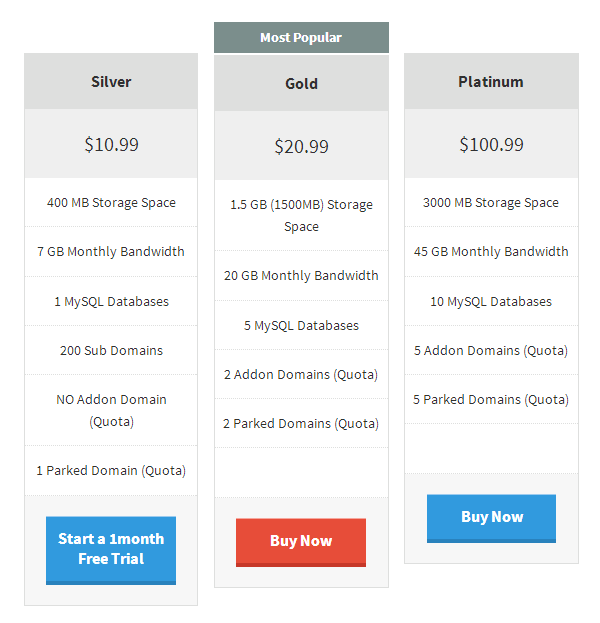
Overall, the plugin is very easy to use and comes with decent default design. If you’d like to customize it to your liking, the design settings page will help you to do that. For advanced customization, you may use Firebug to inspect the element and overwrite the CSS code with your own CSS code.
Leave a Reply