One of the great features of WordPress is the ability to use a plugin. What is a plugin? From the WordPress plugin page:
Plugins can extend WordPress to do almost anything you can imagine.
In a simpler way, a plugin is like an additional script (or in browser people called it Add-Ons) that let you expand the usability of your WordPress site. Want to add Most Recent Comments widget? How about preventing spam on your website? Well, lets WordPress plugins handle these for you.
Installing a plugin is easy. Usually, it only takes few seconds. However, setting up a plugin is a different story. Some plugins come with many settings pages, while some have no settings page at all.
To install a WordPress plugin, just follow these simple steps:
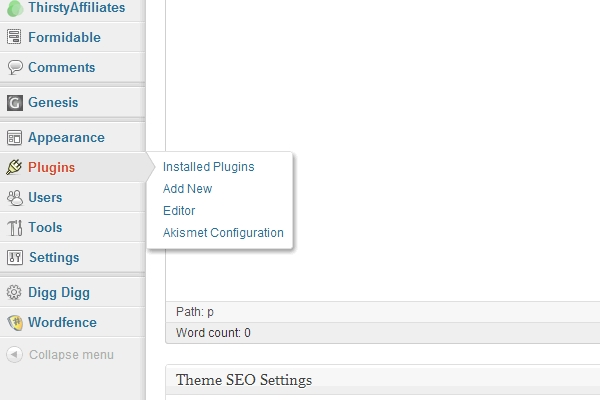
1. In your dashboard, hover on Plugins and click on the Add New link.
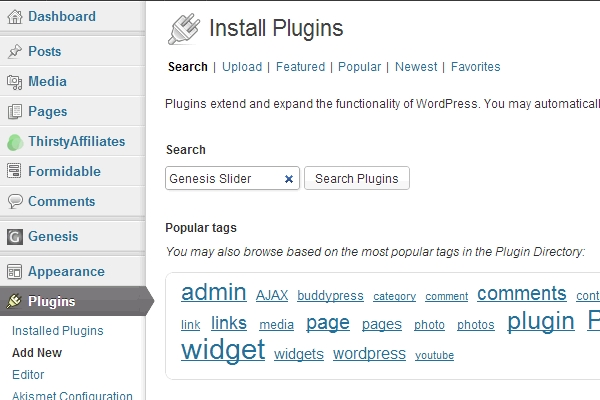
2. In the search box, type the name of the plugin. You do not have to be exact here. Just type in anything in the search form and click the Search Plugins button. For example, if you wish to add a slider to your theme, type in the slider and it will show you few results.
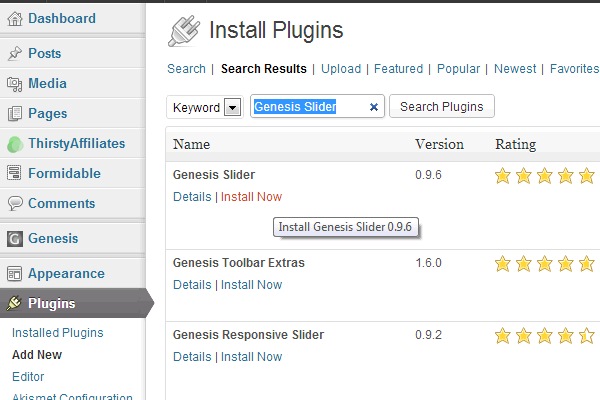
For this tutorial, let’s assume I already know the name of the plugin: Genesis Slider plugin. Please note that this plugin is ONLY to be used with Genesis Framework, one of the most robust and powerful WordPress frameworks.
3. Then, you will see the search result as shown below. Click on the Install Now link.
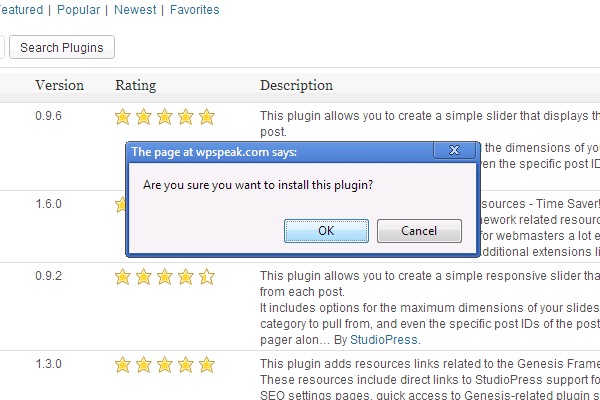
4. A pop up as shown below will appear. Just click the OK button to proceed.
5. Then, click on the Activate Plugin link.
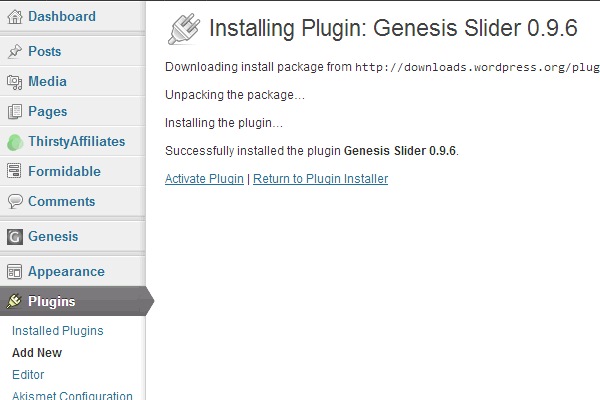
6. You’re done!
7. You have done installing WordPress plugin. Depending on the plugin you have just installed, it might or might not have the settings page. For the Genesis Slider plugin, the settings page can be accessed from the Genesis > Slider settings as can be seen below:

The reason for this is because this plugin is a theme-specific plugin. What does that mean? The plugin is only can be used if you use Genesis Framework.
For other plugins, the plugin might create another top-level menu on the dashboard (see the Digg Digg and Wordfence links) or submenu (see Crayon, Edit Author Slug, SNAP, and Widget CSS Class links).
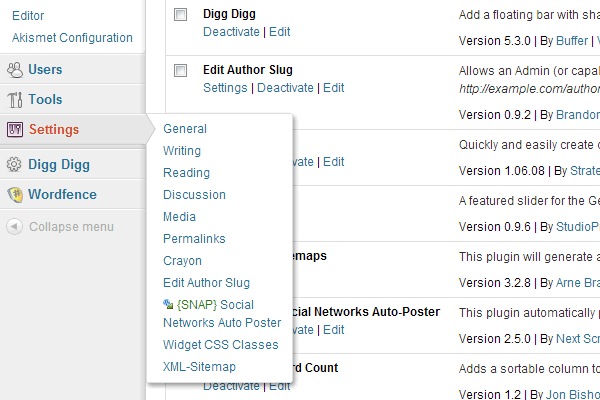
I should also remind that not all plugins have the settings page. Some can be found from the Tools submenu, some from Appearance submenu, some have no settings page at all.
Leave a Reply