There are many ways to hack your WordPress site. No one likes to be hacked, it is one of the scariest moment for any bloggers out there. In this quick tutorial, I’m going to share how to limit login attempts to your WordPress site. Before this, I’ve also shown you how to change the default login URL to increase the security of your WordPress site. Be sure to check that out too.
Why It Is Important to Limit Limit Login Attempts
If you’re still new about this and still wondering why we should limit login attempt, please read on. As I mentioned above, there are many ways to break your WordPress site. Besides from known vulnerability from plugins or theme you use, someone might try to break into your dashboard by trying to login by using guess combinations of letters, numbers, and keys many times. By many times, I meant hundreds or thousands of times. This kind of attack is also known as brute-force attack.
By limiting someone from trying to login many times, you can prevent them from hacking your website using this kind of attack.
To limit the login attempt to your WordPress site, I recommend installing Limit Login Attempts plugin.
1. Install and activate Limit Login Attempts plugin.
2. Configure the plugin. Go to Settings > Limit Login Attempts.
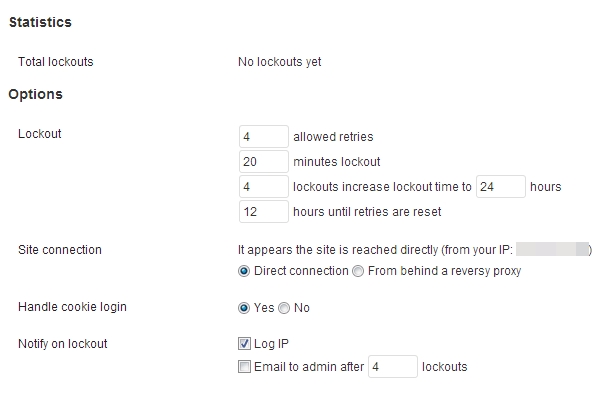
From the settings page, there are a number of things you can configure, such the number of attempts before the lockout, limit the number of attempts to log in using auth cookies in the same way and etc.
I found this plugin to be very useful and must-use plugin for every WordPress site. I’m currently using this plugin on WPFeed and highly recommend you to do so.
Leave a Reply