• Skip to primary navigation
  • Skip to main content
  • Skip to primary sidebar
WPFeed

WPFeed

  • News
  • Tutorials
    • WordPress Multisite
    • BuddyPress
    • Design
  • Reviews
    • Plugins
  • Roundups
  • Snippets
  • Giveaways
Home » How To » How to Add Custom Classes to WordPress Menu

How to Add Custom Classes to WordPress Menu

Before this, I’ve written a tutorial about adding a new class to WordPress widget. This is great way to further customize the widgets. How about adding custom classes to the WordPress menu?

It’s easy. WordPress has already this functionality, you just have to know where to enable this feature from the menu’s settings page.

First of all, you need to create your own menu. When you click on one of the items, you’ll see few text fields where you will be able to change the title and attribute of the item.

WordPress-Menu

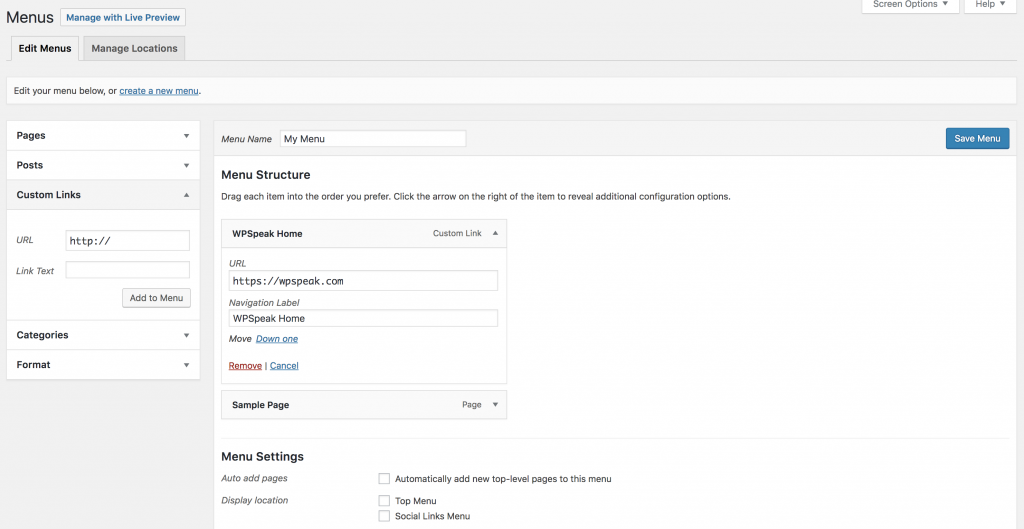
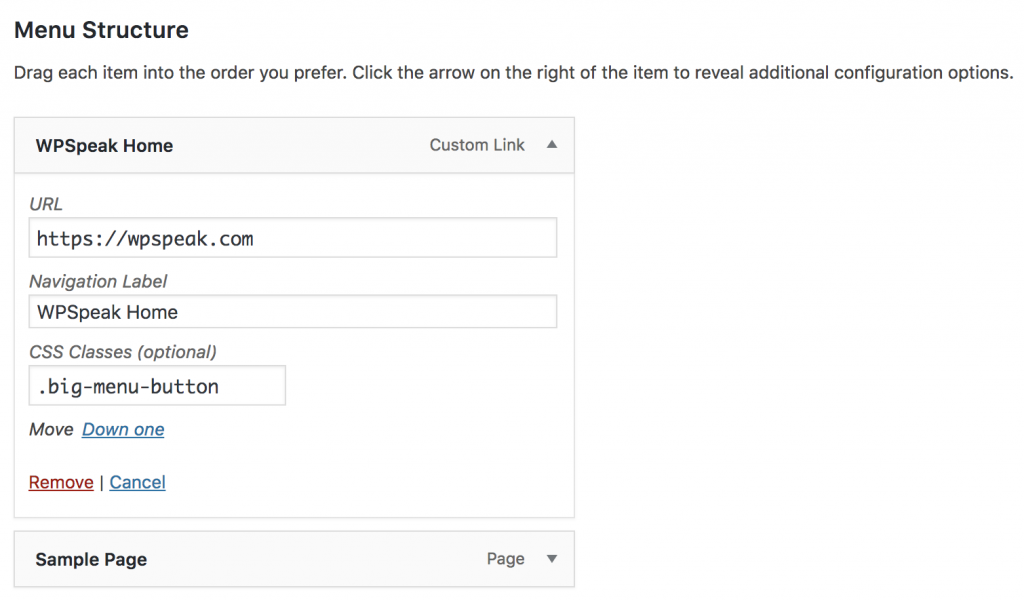
To enable the CSS class, click on the Screen Options button on the top right side of your screen. Then, tick on CSS Classes option. Once you’ve enabled it, a new text field will be added. Then, just put any custom classes you’ve declared in your style.css.

Menu-classes

Customize-menu

That’s it.

In one of my projects for a client, I need to create a colorful menu. The best way to do it is by using a custom class for every item in the menu. And here’s the result:

Custom-menu

Reader Interactions

Leave a Reply Cancel reply

Your email address will not be published. Required fields are marked *

Primary Sidebar

Recent Posts

  • WordPress is a brilliant platform that is loaded with tons of stuff for websites.
  • How to Sync Stock & Price for WooCommerce Products
  • How to migrate a WooCommerce Store to a new site
  • How to Import WooCommerce Products
  • How to export WooCommerce Orders

Copyright © 2023 · WPFeed.com - A Project of TechAbout LLC.

  • About us
  • Advertise
  • Write for us
  • Terms and Conditions
  • Privacy Policy
  • Contact us