There is a time when you need to change or overwrite the plugin CSS file so I will blend nicely to your site design. For example, here in WPFeed.com, sometimes we’re using a Notification Bar to make an important announcement such as latest giveaway or deal. Since the original appearance of the Notification Bar plugin doesn’t look good with our theme, we decided to overwrite the CSS with our own CSS code.
Here’s some customization we made (removed the white border at the bottom and gradient color) to the default appearance of the Notification Bar plugin:

Reasons for Using Custom CSS Editor
1. Reusable Code
Instead of writing the code in our current theme, we prefer to put the code in Custom CSS Editor so the styling of our Notification Bar plugin will remain even if we change our theme in future.
2. Easier for Most Users
I’m pretty sure not all users are familiar with their theme’s style.css file. Most of them will get scared seeing thousands of lines of codes, plus some of them really have no idea how to add the code. By using a Custom CSS editor, they can just simply drop the code in that file.
Adding a Custom CSS File Editor
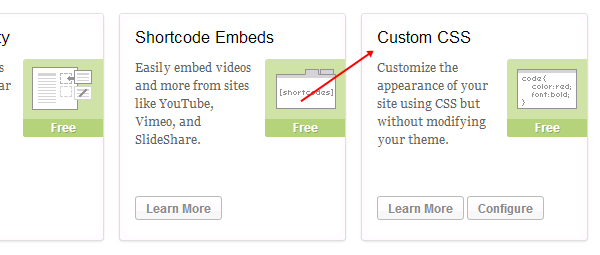
1. Custom CSS Module by Jetpack
If you’ve already use Jetpack plugin on your site, there’s a module to add a custom CSS code. This is what we’re using on our site.
2. Plugins
Well, if you’re not using Jetpack, there are lots of plugins available for this feature. These two are my recommendations:
We hope this article will be useful to our readers. Do share this article with your friends if you found this article to be helpful in any way.
Leave a Reply